Imagine a bite where a sweet, comforting flavor bursts forth from a tender, chewy interior, delightfully contrasted by a delicate, crackled powdered sugar coating. These vibrant treats are pure joy.
My grandma used to say that a plate of these cheerful little cookies was like a hug you could eat, especially after a particularly chaotic family dinner involving flying peas.
Reasons Why You’ll Love This Recipe
You are about to discover your new favorite cookie. These delightful treats offer incredible ease of preparation, making them perfect for bakers of any skill level, while their unique sweet flavor profile delivers comforting satisfaction. Their stunning, crackled appearance, revealing vibrant colors beneath a snowy dusting, makes them a showstopper for any event. Plus, their inherent versatility allows for endless customization with different colors, ensuring they always match your mood or occasion.
Ingredients
Here’s what you need for this delicious dish:
All ingredients with their exact quantities can be found in the recipe card below.
Step-by-Step Instructions
Here’s a simple guide to help you prepare this delicious recipe:
Step 1: Combine Dry Ingredients
In a medium-sized bowl, use a whisk to thoroughly combine the all-purpose flour, baking powder, and salt. Once completely mixed, set this bowl aside for later use. This ensures an even distribution of leavening and seasoning throughout your dough.
Step 2: Cream Butter and Sugar
In a large bowl, combine the softened unsalted butter and granulated sugar. Using an electric mixer, cream these two ingredients together on medium speed until the mixture becomes visibly light in color and fluffy in texture. This process incorporates air, which is essential for a tender cookie.
Step 3: Incorporate Wet Ingredients
To the creamed butter and sugar, add the two large eggs, one at a time, beating well after each addition until fully incorporated. After the eggs, stir in the vanilla extract and vegetable oil, mixing until all components are thoroughly combined. Ensure there are no streaks of unmixed liquid.
Step 4: Form the Dough
Gradually add the previously prepared dry ingredients into the wet ingredients in the large bowl. Mix on a low speed, just until everything is combined and a soft, cohesive dough begins to form. Be careful not to overmix the dough, as this can lead to tough cookies.
Step 5: Color the Dough
Now for the fun part! Divide the soft dough into as many portions as you wish to have different colors in your cookies. Add a few drops of your chosen food coloring (gel or liquid) to each portion. Gently knead each colored dough portion by hand until the color is vibrant and evenly distributed throughout.
Step 6: Chill the Dough
Cover each individual portion of colored dough tightly with plastic wrap, ensuring no air can get in. Place the wrapped dough portions into the refrigerator for a minimum of 2 hours. For the best results and easiest handling, chilling the dough overnight is highly recommended. This step is crucial for achieving distinct crinkles and preventing the cookies from spreading too much during baking.
Step 7: Prepare for Baking
Preheat your oven to 350°F (175°C). While the oven heats, line your baking sheets with parchment paper. This prevents sticking and makes cleanup much easier. Ensure your oven has reached the correct temperature before placing cookies inside for even baking.
Step 8: Set Up Powdered Sugar Station
Pour the ½ cup of powdered sugar into a shallow bowl. This bowl will be used for rolling your dough balls, making the coating process quick and efficient. Make sure the bowl is wide enough to comfortably roll the cookie dough balls.
Step 9: Roll Dough Balls
Once the dough is thoroughly chilled and firm, scoop out rounded tablespoons of the colored dough. Roll each scoop between your palms to form smooth, uniform balls. Consistency in size helps ensure even baking.
Step 10: Coat in Powdered Sugar
Take each smooth dough ball and roll it generously in the powdered sugar placed in the shallow bowl. It’s important to ensure the dough ball is completely coated with a thick layer of powdered sugar. This heavy coating is what creates the iconic crackled effect as the cookies bake.
Step 11: Arrange on Baking Sheet
Carefully place the generously coated dough balls onto the prepared baking sheets, ensuring they are spaced approximately 2 inches apart. This spacing allows the cookies to spread without touching each other during baking.
Step 12: Bake to Perfection
Place the baking sheets in the preheated oven and bake for 8 to 10 minutes. The cookies are ready when their edges are set, they have visibly spread, and their signature crinkled appearance has developed. The centers might still look slightly soft; this is normal and contributes to their chewy texture. Do not overbake.
Step 13: Cool and Enjoy
Remove the baking sheets from the oven and let the cookies cool on the sheets for 5 minutes. This allows them to set further before you move them. After 5 minutes, carefully transfer the cookies to a wire rack to cool completely. Store cooled cookies in an airtight container at room temperature for up to 3-4 days. Serve these delightful cookies as a vibrant dessert, sharing the burst of joy in every bite.
Nutrition Information
Each of these delightful cookies offers a balanced treat:
- Calories: 130 kcal
- Protein: 1.5g
- Carbs: 22g
- Fat: 4.5g
These values apply to one serving, which is one cookie. Enjoy these moderately as part of a balanced diet.
Expert Tips for Perfect Crinkle Cookies
Achieving that perfect crinkle and chewy texture is easier than you think with a few simple tricks. These aren’t just cookies; they’re a small masterpiece, and these tips will help ensure your batch is absolutely sublime. Paying attention to these details will elevate your baking experience and the final product.
The Chill Factor: A Baker’s Best Friend
This step might feel like an exercise in patience, but it’s genuinely the secret sauce for spectacular crinkles. Ensuring your dough is thoroughly chilled is not just a suggestion; it is crucial for easy handling. A firm dough means less stickiness and more control when rolling your cookie balls. More importantly, this cold dough hits the hot oven, the exterior bakes faster, creating those beautiful cracks as the interior expands. Think of it as nature’s way of painting a beautiful design on your baked goods. Don’t rush this step for the best results; those prominent crinkles depend on it.
Powdered Sugar: Your Crinkle Canvas
Don’t be shy with the powdered sugar! Think of it as applying a generous snowdrift to each little dough ball. A thick, even coating of powdered sugar is absolutely essential. As the cookie bakes and spreads, that sugar coating cracks, creating the distinct, gorgeous crackled effect we all adore. Skimping here means less impressive crinkles, and who wants a subtle crinkle when you can have a dramatic, show-stopping one? Roll those balls until they look like little snowmen ready for the oven. This generous layering is key to the cookie’s signature appearance.
The Art of Not Overbaking
This is perhaps the most critical advice for achieving the quintessential soft and chewy interior of these colorful treats. Keep a close eye on your oven; ovens can vary, so the specified baking time is a guideline. You want the edges of the cookies to be just set, with the centers still looking slightly soft, even a little underbaked. They will continue to cook slightly from residual heat once removed from the oven. Overbaking turns these delightful softies into hard, crunchy pucks, which defeats the purpose of their delightful texture. Trust your instincts and pull them out at the first sign of doneness for that perfect chew.
Storing Your Burst of Joy
Once your colorful crinkle cookies have fully cooled on the wire rack, it’s time to store them to maintain their freshness and delightful chewiness. An airtight container is your best friend here. Placed at room temperature, these cookies will stay wonderfully fresh and enjoyable for up to 3 to 4 days. This makes them an excellent make-ahead option for parties, lunchboxes, or simply for enjoying throughout the week whenever a sweet craving strikes. For longer storage, you can freeze them in an airtight container for up to two months, thawing them at room temperature before serving for a joyful treat anytime.
Frequently Asked Questions About Crinkle Cookies
Even the most straightforward recipes can spark a few questions, especially when aiming for perfection. Here are some common queries that home bakers often have when tackling the delightful process of making crinkle cookies, ensuring your baking adventure is smooth and successful.
What causes crinkle cookies to crack?
The distinctive crackled appearance of these cookies comes from a clever interplay of temperature and coating. The chilled dough, when generously coated in powdered sugar, bakes in a hot oven. As the dough inside begins to spread and puff up during baking, the outer powdered sugar coating, which doesn’t expand at the same rate, cracks open. This reveals the vibrant, colorful dough beneath, creating that beautiful contrast and signature look. It’s a delightful baking phenomenon that makes each cookie a unique piece of art.
Can I make the dough ahead of time?
Absolutely! Making the dough ahead of time is not just convenient; it’s actually recommended for these particular cookies. The recipe specifically advises refrigerating the dough for at least 2 hours, or preferably overnight. This chilling period allows the flavors to meld, and more importantly, it makes the dough much firmer and easier to handle when rolling. A well-chilled dough is less sticky and holds its shape better, which is crucial for achieving those perfect, prominent crinkles during baking. Plan ahead, and your future self will thank you.
Why did my cookies not crinkle much?
Several factors could contribute to less prominent crinkles. The most common reasons include insufficient chilling of the dough, not coating the dough balls generously enough in powdered sugar, or overbaking the cookies. If the dough isn’t cold enough, it might spread too quickly before the crinkles can form. A thin layer of powdered sugar won’t provide enough resistance to crack effectively. Lastly, if you overbake, the cookies might set too quickly and become too dry to properly crinkle. Ensure you follow the chilling and rolling instructions precisely, and avoid overbaking.
Can I use different colors in one batch?
Yes, absolutely! One of the most wonderful aspects of these vibrant cookies, making them a true burst of joy in every bite, is their incredible versatility with color. The recipe explicitly guides you to divide the dough into as many portions as you desire colors. This allows you to create a beautiful rainbow of cookies, or tailor them to a specific holiday or theme. Whether you want a single solid color, a mix of two complementary shades, or a full spectrum, the possibilities are endless. Don’t hesitate to experiment and let your creativity shine!
Perfecting the Cooking Process

For truly vibrant crinkle cookies, remember that chilling the dough is paramount for easy handling and achieving those signature cracks. Don’t rush the generous coating in powdered sugar; it’s essential for the distinctive effect. Finally, keep a close eye on the oven; slightly underbaked centers yield the perfect soft chew.
Add Your Personal Touch
To customize these delightful crinkle cookies, experiment with different food coloring combinations, perhaps pastel shades for spring or bold hues for festivities. For a subtle flavor twist, consider swapping the vanilla extract for a citrus extract like lemon or orange, or even a touch of almond extract for an elegant twist.
Storage & Reheating
To preserve the delightful soft, chewy interior and distinct crackled surface of your vibrant crinkle cookies, store them in an airtight container at room temperature. Ensure they are completely cooled before storing, and arrange them in a single layer if possible. They will stay fresh and irresistible for up to 3-4 days.
Helpful Chef Tips
My neighbor’s children once made these vibrant crinkle cookies, accidentally using too much blue food coloring. Their faces, stained a cheerful azure from the treats, were an unforgettable, joyous sight!
Final Thoughts
We hope you’re inspired to bring these wonderful treats to life in your own kitchen. Creating Colorful Crinkle Cookies: A Burst of Joy in Every Bite isn’t just baking; it’s an experience that fills your home with sweet aromas and your table with stunning, vibrant confections. From the delicate crackle of the powdered sugar to the soft, chewy interior, each cookie is a mini celebration. Don’t just admire their beauty – embrace the simple steps, gather your ingredients, and bake a batch of pure happiness today!
PrintColorful Crinkle Cookies: A Burst of Joy in Every Bite

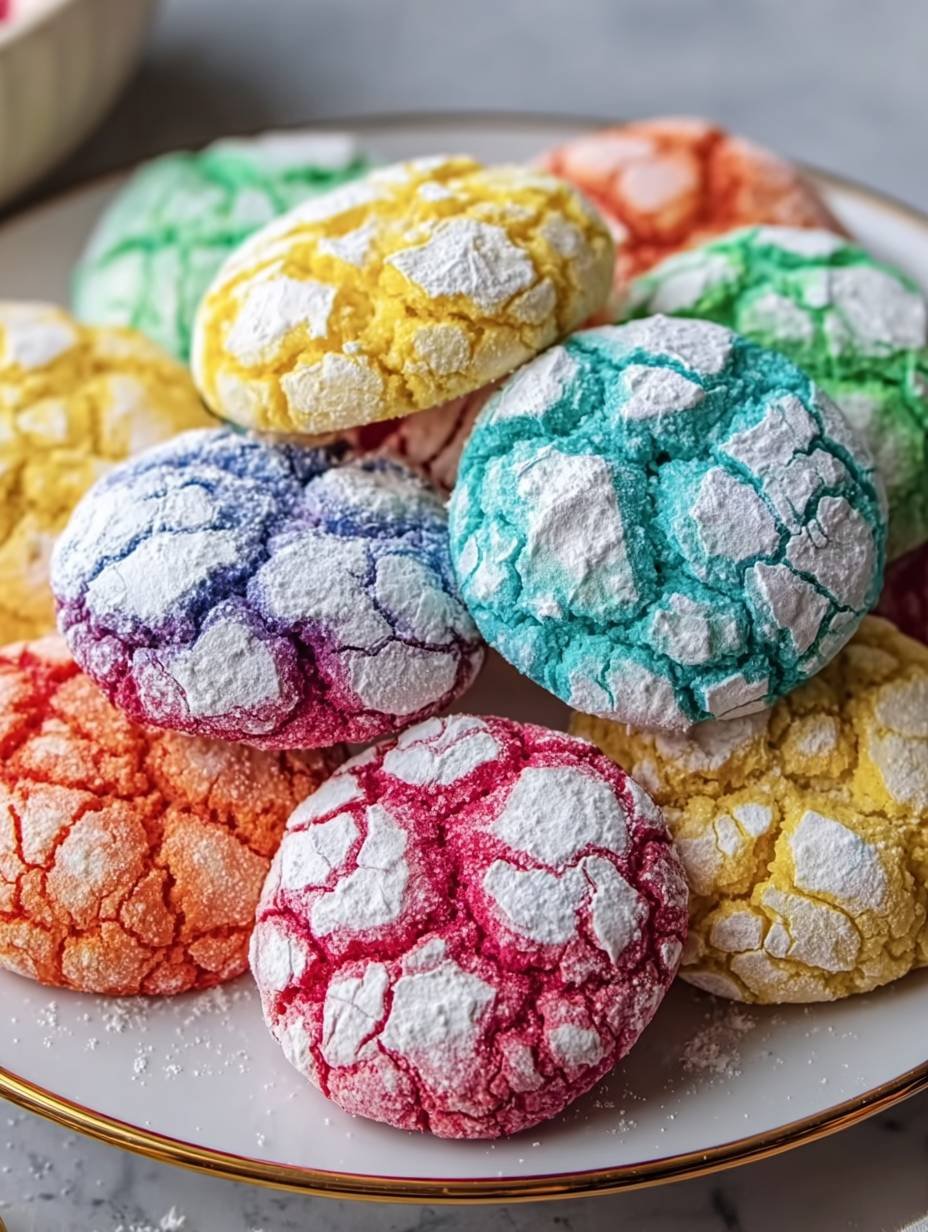
These vibrant crinkle cookies offer a delightful contrast of textures, featuring a soft, chewy interior encased in a delicate, crackled powdered sugar coating. Each bite delivers a sweet, comforting flavor, making them a festive and appealing treat for any occasion. The baking process results in their signature crinkled surface, revealing the colorful dough beneath a dusting of white sugar.
- Prep Time: 25 minutes
- Cook Time: 10 minutes
- Total Time: 35 minutes
- Yield: 24 cookies 1x
Ingredients
- 2 ½ cups all-purpose flour
- 1 teaspoon baking powder
- ½ teaspoon salt
- ½ cup unsalted butter, softened
- 1 ½ cups granulated sugar
- 2 large eggs
- 1 teaspoon vanilla extract
- 1 tablespoon vegetable oil
- Food coloring (gel or liquid, various colors)
- ½ cup powdered sugar, for rolling
Instructions
- In a medium bowl, whisk together the all-purpose flour, baking powder, and salt. Set aside.
- In a large bowl, cream together the softened unsalted butter and granulated sugar until light and fluffy.
- Beat in the eggs one at a time, then stir in the vanilla extract and vegetable oil until well combined.
- Gradually add the dry ingredients to the wet ingredients, mixing on low speed until just combined and a soft dough forms. Do not overmix.
- Divide the dough into as many portions as you desire colors. Add a few drops of food coloring to each portion and knead gently until the color is evenly distributed.
- Cover each portion of colored dough tightly with plastic wrap and refrigerate for at least 2 hours, or preferably overnight, until firm.
- Preheat your oven to 350°F (175°C). Line baking sheets with parchment paper.
- Place the ½ cup of powdered sugar in a shallow bowl.
- Scoop out rounded tablespoons of chilled dough and roll them into smooth balls.
- Roll each dough ball generously in the powdered sugar, ensuring it is completely coated.
- Place the coated dough balls about 2 inches apart on the prepared baking sheets.
- Bake for 8-10 minutes, or until the edges are set and the cookies have spread and developed their signature crinkled appearance. The centers may still look slightly soft.
- Remove from the oven and let cool on the baking sheets for 5 minutes before transferring to a wire rack to cool completely.
Notes
Ensure the dough is thoroughly chilled; this is crucial for easy handling and achieving prominent crinkles.
Roll the dough balls generously in powdered sugar; a thick coating helps create the distinct crackled effect during baking.
Do not overbake these cookies; they should remain soft and chewy in the center.
Store cooled cookies in an airtight container at room temperature for up to 3-4 days.
Nutrition
- Calories: 130 kcal
- Fat: 4.5g
- Carbohydrates: 22g
- Protein: 1.5g
FAQs
Why is chilling the dough crucial for these crinkle cookies?
Chilling the dough is a fundamental step that greatly impacts both the ease of handling and the final appearance of these cookies. When the dough is thoroughly chilled, typically for at least 2 hours or preferably overnight, the butter solidifies, making the dough much firmer and less sticky. This firmness is essential for rolling the dough into smooth balls without it sticking to your hands. More importantly, it is crucial for achieving the prominent, distinct crinkles that give these cookies their signature look during baking. A well-chilled dough holds its shape better, allowing the powdered sugar coating to crackle beautifully as the cookies expand in the oven.
How does rolling generously in powdered sugar create the signature look?
The generous coating of powdered sugar is absolutely key to achieving the distinct crackled effect of these delightful cookies. When you roll each rounded tablespoon of chilled dough in powdered sugar, you’re creating a thick, visible layer around the dough ball. As the cookies bake in the preheated oven at 350°F (175°C), the dough expands and spreads. This expansion causes the outer layer of powdered sugar to crack and separate, revealing the vibrant, colorful dough underneath. Without a thick, even coating of powdered sugar, the characteristic crinkles would be much less defined or may not form at all, diminishing the visual appeal.
Can I prepare the dough ahead of time for these delightful cookies?
Absolutely, preparing the dough in advance is a fantastic way to streamline your baking process, especially when planning for a party or a busy day. After you’ve divided and colored your dough portions, simply cover each one tightly with plastic wrap and refrigerate them. The recipe recommends chilling for at least 2 hours, but letting it chill overnight is actually preferred for optimal firmness. This extended chilling time not only makes the dough easier to handle but also helps achieve those prominent crinkles. Once chilled, you can proceed with rolling and baking whenever you’re ready, ensuring fresh cookies with minimal fuss.
What are the signs these joyful cookies are perfectly baked?
Knowing when these Colorful Crinkle Cookies are perfectly baked is essential to ensure they remain soft and chewy, rather than becoming dry or hard. Keep a close eye on them while they bake for 8-10 minutes at 350°F (175°C). The main indicators of doneness are when the edges of the cookies appear set and they have spread out, showcasing their distinctive crinkled surface. It’s important to note that the centers may still look slightly soft when you remove them from the oven, and this is perfectly normal and desired. They will continue to set as they cool on the baking sheets for 5 minutes before being transferred to a wire rack.