
The irresistible crunch, the delicate kiss of salt, the simple perfection of a thinly sliced potato transformed into a golden, savory delight – pure, unadulterated bliss. It’s that exact sound and taste that transports me back to childhood, secretly raiding the pantry for that forbidden bag of chips, never quite knowing how they got so delightfully crisp.
What Makes This Recipe Special
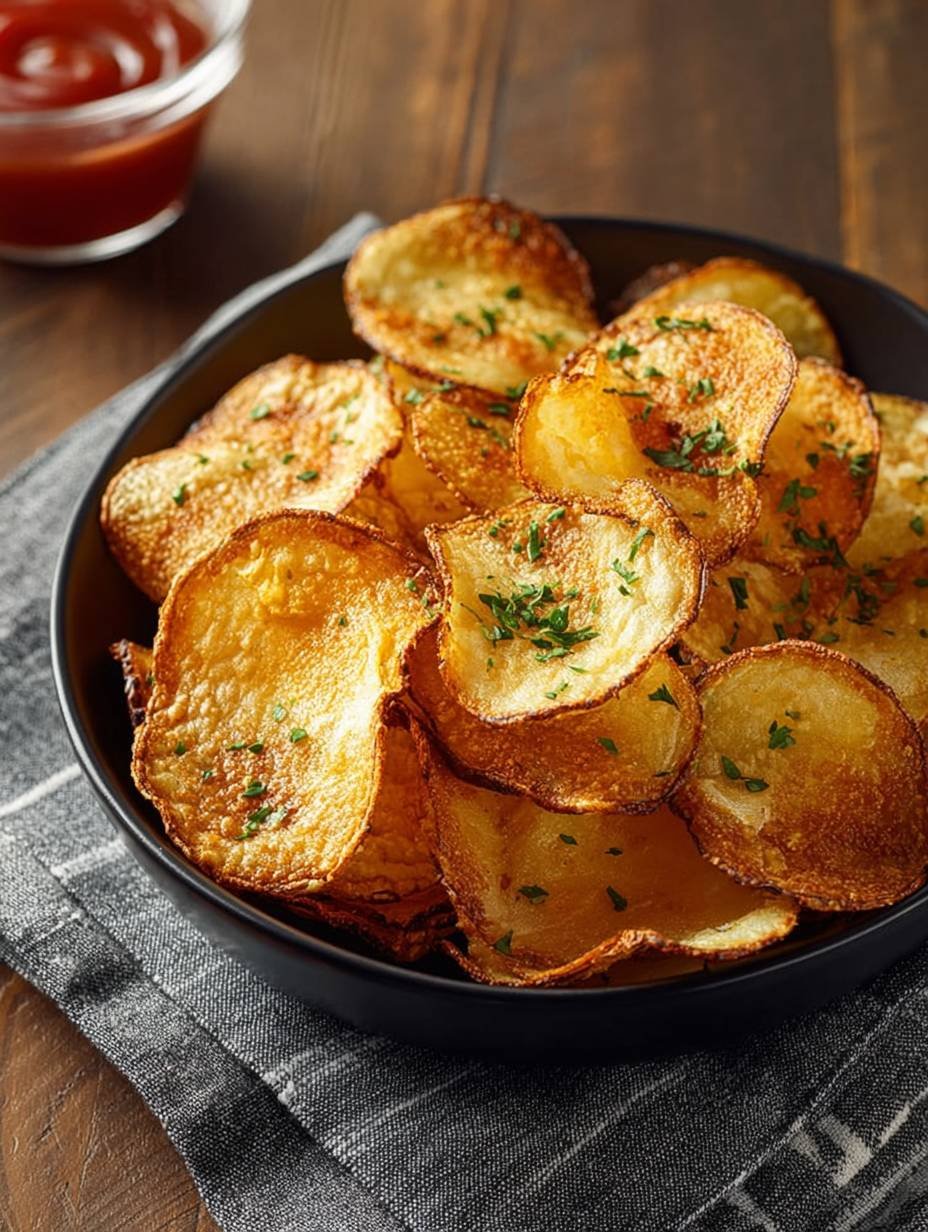
Forget the lackluster, store-bought imposters; this recipe elevates the humble potato into a snack that truly shines. It’s incredibly straightforward to prepare, transforming simple Russet potatoes into a deeply savory and wonderfully light treat that will become your new favorite crispy homemade potato chips. The stunning golden-brown appearance, often kissed with fresh parsley, makes them look as good as they taste, perfect for elevating any casual gathering. Plus, with simple seasonings at its core, this recipe offers versatility, allowing you to tailor the flavor to perfectly match any craving.
Ingredients
Here’s what you need for this delicious dish:
- **2 large Russet potatoes (about 1.5 lbs)** These starchy superheroes are the cornerstone for achieving that coveted, shattering crispness. Choosing large, firm potatoes makes the crucial thin, uniform slicing much easier, directly impacting the final crunch of your homemade crisps.
- **1 tablespoon olive oil** Just a drizzle of this healthy fat acts as the golden ticket, helping your potato slices achieve a beautiful golden-brown color and ensuring each one emerges from the oven or air fryer perfectly crispy.
- **1/2 teaspoon fine sea salt** This precisely measured salt provides a balanced, savory seasoning, enhancing the natural potato flavor without overwhelming it. Fine sea salt adheres beautifully, ensuring every bite is seasoned just right.
- **1/4 teaspoon black pepper** A touch of freshly ground black pepper adds a subtle warmth and a hint of piquant spice, perfectly complementing the saltiness and bringing an extra layer of flavor to your crispy potato chips.
- **1 tablespoon fresh parsley, chopped (for garnish, optional)** While optional, a sprinkle of vibrant fresh parsley after cooking adds a burst of color and a subtle aromatic finish, making your crispy creations look as enticing as they taste.
All ingredients and quantities can be found directly in the recipe card below.
Step-by-Step Instructions
Simply follow these easy steps to prepare this delicious meal:
Step 1: Preheat & Prepare for Success
Before you dive into potato paradise, get your cooking station ready. Preheat your oven to 400°F (200°C) if you are baking, or set your air fryer to 375°F (190°C) for that speedy crisp. If you’re using an oven, make sure to line a baking sheet with parchment paper; this simple step prevents sticking and makes cleanup a breeze, ensuring your chips come off cleanly.
Step 2: Mastering the Slice
Wash your Russet potatoes thoroughly. While peeling is entirely optional and depends on your preference, many find leaving the skin on adds extra texture and nutrients. The critical part here is achieving very thin, uniform rounds, approximately 1/16 inch thick. A mandoline slicer is highly recommended for this task, as it provides consistent results that are nearly impossible to achieve with a knife alone, ensuring all your potato slices cook evenly.
Step 3: The Starch-Busting Soak
Once your potatoes are beautifully sliced, place them immediately into a large bowl filled with cold water. Let them soak for 15-30 minutes. This seemingly simple step is a secret weapon in the quest for ultimate crispiness, as it removes excess starch from the potatoes, preventing them from sticking together and promoting a lighter, crispier texture during cooking.
Step 4: The Golden Rule of Dryness
After their refreshing bath, drain the potatoes completely. This next step is absolutely crucial and cannot be rushed: thoroughly pat the potato slices completely dry using a clean kitchen towel or several layers of paper towels. Any residual moisture will lead to steaming instead of crisping, resulting in soggy chips. Take your time to ensure every single slice is bone dry before moving on.
Step 5: A Dash of Flavor
Transfer the perfectly dry potato slices into a large bowl. Drizzle the 1 tablespoon of olive oil over them, then sprinkle with the 1/2 teaspoon of fine sea salt and 1/4 teaspoon of black pepper. Toss everything together gently but thoroughly, using your hands or a spatula, until each potato slice is evenly coated with the oil and seasonings. This ensures a balanced flavor in every delightful bite.
Step 6: Cook Until Golden and Crispy
This is where the magic happens, transforming your seasoned potato slices into your new favorite crispy homemade potato chips. The cooking method will determine your exact approach.
For Oven Baking: The Traditional Crunch
Arrange the potato slices in a single layer on the prepared baking sheet, making sure they do not overlap. Overlapping will cause them to steam rather than crisp. Bake for 15-25 minutes, keeping a close eye on them and flipping them halfway through the cooking time. Continue baking until they achieve a beautiful golden-brown color and are wonderfully crispy. Remember that cooking time can vary significantly based on the thickness of your slices and the specifics of your oven.
For Air Frying: The Speedy Crisp
If using an air fryer, arrange a single layer of potato slices in the air fryer basket. Just like with oven baking, avoiding overlap is key to achieving that perfect crisp. Cook for 10-15 minutes, making sure to shake the basket vigorously every 5 minutes to promote even cooking and browning. You will almost certainly need to cook in multiple batches to prevent overcrowding, but the quicker cooking time makes it worth it. Continue until each batch is golden brown and deliciously crispy.
Step 7: The Cool-Down Crunch Factor
Once your potato chips are cooked to a golden crisp, carefully remove them from the oven or air fryer. Transfer them to a wire rack and allow them to cool slightly. This cooling period is important because the chips will continue to crisp up even further as they cool, achieving that satisfying snap you’re aiming for. Resist the urge to dive in too quickly!
Step 8: Garnish and Serve Your New Favorite Crispy Homemade Potato Chips
For a final flourish, if you’re using it, sprinkle the fresh chopped parsley over your cooled, crispy potato chips. This adds a beautiful touch of color and a fresh, herbaceous aroma. Serve them immediately to enjoy their peak crisp texture and incredible flavor. These chips are best enjoyed fresh, straight from the cooling rack!
The Science Behind the Unforgettable Crunch
Achieving that perfect, shatter-crisp texture in your homemade chips isn’t just luck; it’s a delightful dance with a few key scientific principles. First, selecting the right potato, like the Russet, is paramount. Their higher starch content, compared to waxy varieties, means they dry out and crisp up more effectively. The step of soaking the thin potato slices in cold water isn’t just for show; it actively draws out excess surface starch, preventing the chips from sticking together and promoting a lighter, airier crispness rather than a gummy texture. Furthermore, the critical drying stage ensures no residual moisture remains. Any water on the surface would cause the potatoes to steam instead of fry or bake, leading to a disappointingly soggy result. Finally, cooking them in a single, uncrowded layer allows for maximum air circulation and even heat distribution, guaranteeing each of your potato crisps reaches its golden, crunchy potential.
Elevating Your Snack Game: Why Homemade Chips Reign Supreme
Once you taste these homemade potato chips, you’ll wonder why you ever bothered with store-bought bags. Beyond the sheer pride of creation, homemade chips offer an undeniable edge. You have complete control over the ingredients, meaning no mysterious additives, preservatives, or excessive unhealthy oils. The freshness of real potatoes, seasoned simply with good quality salt and pepper, creates a flavor profile that store-bought varieties simply cannot match. Plus, making your own can be surprisingly cost-effective, turning a few humble potatoes into a generous batch of gourmet-level snacks. It’s a healthier, tastier, and more satisfying way to enjoy one of life’s simple pleasures, truly making them your new favorite crispy homemade potato chips.
Unleashing Flavor Adventures: Beyond the Basic Seasoning
While the classic salt and pepper combo is a masterpiece in itself, the beauty of these crispy homemade potato chips lies in their versatility. The recipe provides a fantastic base, encouraging you to explore a world of flavor adventures. Imagine sprinkling a dash of garlic powder for an aromatic kick, or perhaps some onion powder for a savory depth. For those who love a bit of warmth, a pinch of paprika can add both color and a smoky sweetness. If you dare to venture further, a sprinkle of chili flakes after cooking can introduce a delightful heat, or even a mix of dried herbs like rosemary or thyme could elevate the potato flavor. These simple additions, applied after the basic olive oil coating, allow you to tailor each batch to your specific cravings without altering the core recipe, making every chip a new discovery.
Common Questions About Homemade Chips
Getting the perfect batch of potato chips can sometimes lead to questions, especially when striving for that ultimate crisp.
**Q: Can I use different types of potatoes?**
A: While Russet potatoes are highly recommended due to their starch content which yields the crispiest results, you can experiment with other varieties like Yukon Golds or red potatoes. Just be aware that the texture and cooking times may vary slightly.
**Q: My chips aren’t getting crispy, what went wrong?**
A: The most common culprits are insufficient drying of the potato slices before cooking, overcrowding the baking sheet or air fryer basket, or slicing the potatoes too thickly. Ensure potatoes are bone dry, cook in single layers in batches, and aim for that 1/16-inch thickness.
**Q: How do I store leftover homemade potato chips?**
A: Homemade chips are best enjoyed immediately for peak crispness. However, if you have leftovers, store them in an airtight container at room temperature for up to 2-3 days. They might lose some of their crispness, but a quick refresh in a hot oven or air fryer for a few minutes can often revive them.
The Grand Finale: Your Crispy Masterpiece Awaits
There you have it! The journey from a humble potato to your new favorite crispy homemade potato chips is simpler and more rewarding than you might have imagined. No complicated techniques, no obscure ingredients – just pure, unadulterated potato goodness. This recipe promises not only an incredibly satisfying snack but also the joy of creating something truly delicious with your own hands. So, go ahead, grab those Russets, unleash your inner chef, and prepare to be amazed by the ultimate crunchy delight that will forever change your chip game. Happy crunching!
Improving the Cooking Method
For truly perfect results with these fantastic crispy homemade potato chips, ensure your sliced potatoes are bone-dry after their cold water bath. This crucial step prevents steaming and encourages that beautiful golden crisp. Arrange them in a single, uncrowded layer on your baking sheet or in the air fryer to allow even air circulation and uniform browning.
Decorate Your Dish with Your Personal Touch
While these crispy homemade potato chips are spectacular as is, a sprinkle of fresh chopped parsley adds a lovely finish. Feel free to swap the parsley for other fresh herbs like chives or dill for a different aromatic twist. You could also experiment with varying the fine sea salt and black pepper ratio to suit your palate.
Smart Tips for Storage and Reheating
To maintain the irresistible crispness of your new favorite crispy homemade potato chips, store them in an airtight container at room temperature. They are truly best enjoyed fresh, but if you have leftovers, a quick refresh in a warm oven or air fryer can help restore some of their crunch.
Practical Chef Advice
One summer afternoon, my nephew declared these crispy homemade potato chips were “better than store-bought!” His joyful crunch was all the validation I needed. It’s truly a simple pleasure, turning humble potatoes into something so wonderfully satisfying.
Final Thoughts
Imagine the satisfying crunch and savory burst of flavor with every single bite. These homemade potato crisps deliver exactly that—a delightful crisp texture and a truly satisfying snack experience. With just a few simple ingredients and either an oven or an air fryer, you can create a batch of your own golden brown delights, finished with a subtle aromatic touch of fresh parsley. Ready to experience the incredible taste and texture of these savory potato snacks in your own kitchen? Dive into the recipe and discover **Your New Favorite Crispy Homemade Potato Chips** today. They’re waiting to be enjoyed!
PrintYour New Favorite Crispy Homemade Potato Chips

These homemade potato chips offer a delightful crisp texture and a savory flavor, achieved through a baking or air frying method. Thinly sliced potatoes are seasoned lightly and cooked until golden brown, resulting in a satisfying snack that is both simple and delicious. A sprinkle of fresh herbs adds a subtle aromatic finish.
- Prep Time: 20 minutes
- Cook Time: 20-25 minutes
- Total Time: 0 hours
- Yield: 4 1x
Ingredients
- 2 large Russet potatoes (about 1.5 lbs)
- 1 tablespoon olive oil
- 1/2 teaspoon fine sea salt
- 1/4 teaspoon black pepper
- 1 tablespoon fresh parsley, chopped (for garnish, optional)
Instructions
- Preheat your oven to 400°F (200°C) or your air fryer to 375°F (190°C). Line a baking sheet with parchment paper if using an oven.
- Wash and peel the potatoes, if desired. Using a mandoline slicer or a very sharp knife, slice the potatoes into very thin, uniform rounds (about 1/16 inch thick).
- Place the sliced potatoes in a large bowl of cold water for 15-30 minutes to remove excess starch. This helps achieve a crispier chip.
- Drain the potatoes thoroughly and pat them completely dry with a clean kitchen towel or paper towels. This is a crucial step for crispiness.
- In a large bowl, toss the dried potato slices with olive oil, salt, and pepper until evenly coated.
- **For Oven Baking:** Arrange the potato slices in a single layer on the prepared baking sheet, ensuring they do not overlap. Bake for 15-25 minutes, flipping halfway through, until golden brown and crispy. Cooking time may vary depending on thickness and oven.
- **For Air Frying:** Arrange a single layer of potato slices in the air fryer basket. Cook for 10-15 minutes, shaking the basket every 5 minutes, until golden brown and crispy. You will need to cook in batches.
- Remove from oven or air fryer and let cool slightly on a wire rack. They will crisp up further as they cool.
- Garnish with fresh chopped parsley, if using, and serve immediately.
Notes
Achieving uniform thin slices is key for even cooking and crispiness; a mandoline slicer is highly recommended.
Ensure potatoes are completely dry before tossing with oil to prevent steaming and promote crisping.
Do not overcrowd the baking sheet or air fryer basket; cook in batches if necessary.
Adjust seasoning to your preference; try adding garlic powder, onion powder, or paprika.
Nutrition
- Calories: 150
- Fat: 4g
- Carbohydrates: 28g
- Protein: 3g
FAQs
Why is soaking the potato slices in cold water a necessary step for these homemade potato chips?
Soaking the thinly sliced potatoes in cold water is a crucial step for achieving that desired crispiness. The recipe calls for placing the slices in a large bowl of cold water for 15-30 minutes specifically to remove excess starch. Starch can make the chips gummy or less crisp during cooking, so by washing it away, you ensure a lighter, airier, and significantly crisper end product. This simple preparation makes a real difference in the final texture of your delicious homemade potato crisps.
What’s the best method to achieve thin, uniform potato slices for the best results?
Achieving thin, uniform potato slices is key for even cooking and ensuring all your chips turn out perfectly crispy. The recipe strongly recommends using a mandoline slicer for this purpose. A mandoline allows you to consistently cut the potatoes to approximately 1/16 inch thick, which is ideal. If you don’t have a mandoline, you can use a very sharp knife, but take extra care to make each slice as consistent in thickness as possible to ensure even baking or air frying.
Why is it crucial to pat the potato slices completely dry before seasoning and cooking them?
Patting the potato slices completely dry with a clean kitchen towel or paper towels is a vital step for crispiness. If the potato slices retain any significant moisture, they will steam instead of crisping up when exposed to heat. This steaming process prevents them from becoming golden brown and developing that satisfying crunch we all love in a homemade potato chip. Ensuring they are thoroughly dry allows the olive oil, salt, and pepper to coat them properly and promotes even, crispy cooking.
Can I cook these crispy potato chips using both an oven and an air fryer, and what are the general timings?
Yes, this versatile recipe allows you to achieve delicious crispy potato chips using either an oven or an air fryer. For oven baking, preheat your oven to 400°F (200°C), arrange slices in a single layer, and bake for 15-25 minutes, flipping halfway. If you’re using an air fryer, preheat it to 375°F (190°C), place slices in a single layer in the basket, and cook for 10-15 minutes, shaking every 5 minutes. Remember to cook in batches for both methods to avoid overcrowding, which can hinder crispiness.